

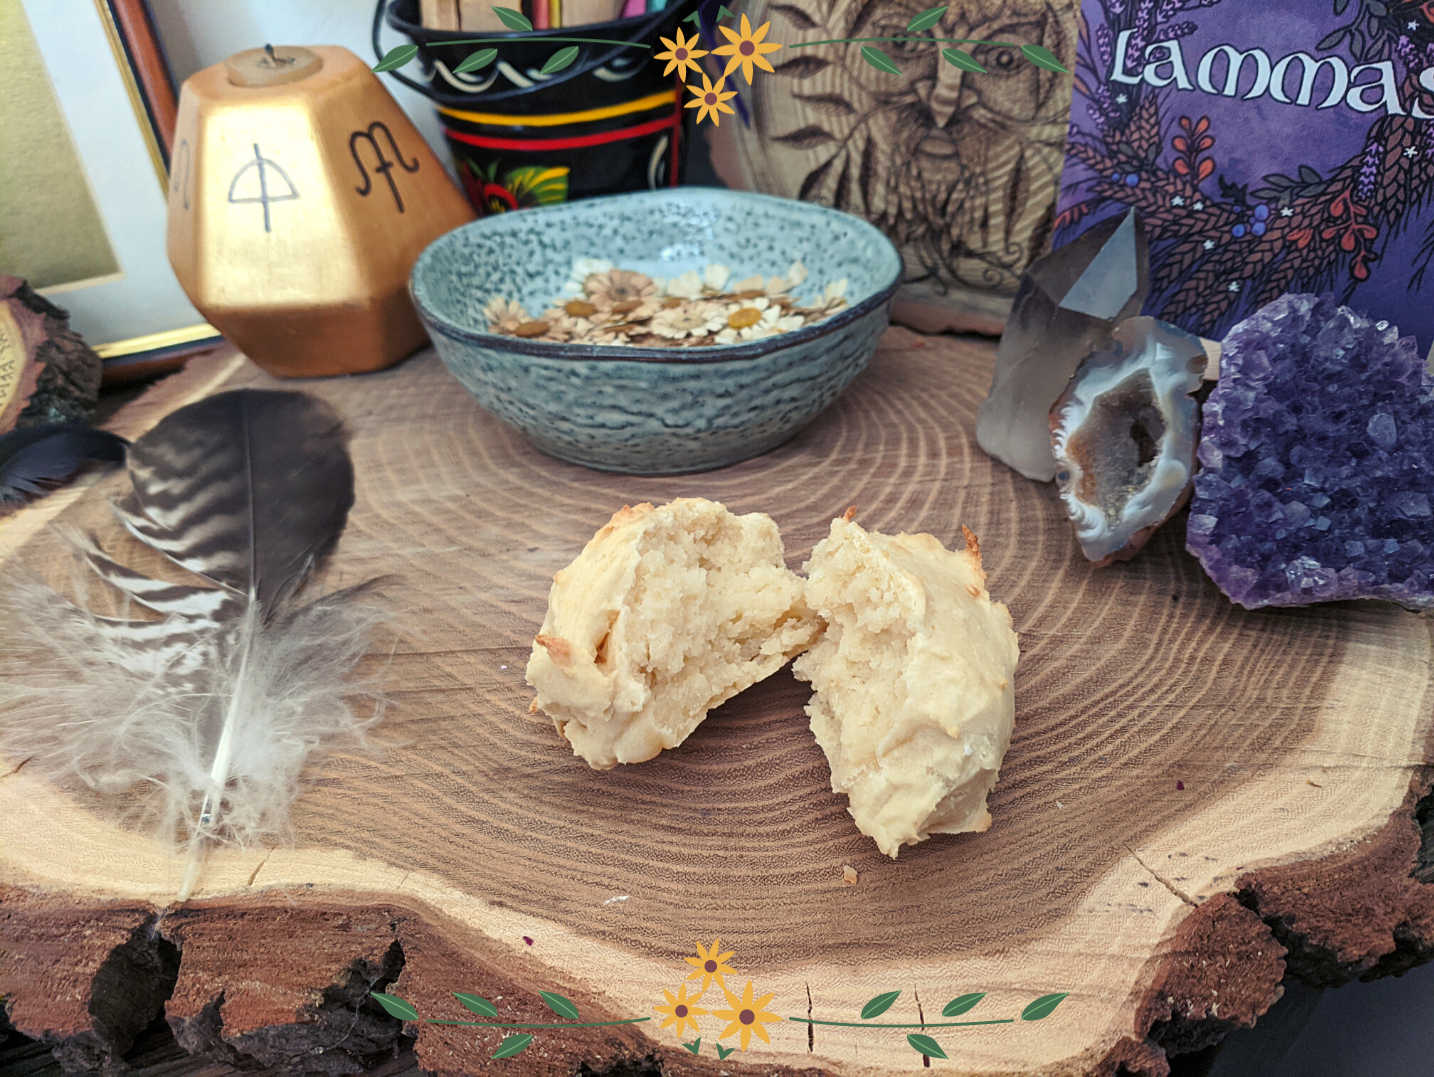
Happy Lammas! I’ve tried out my recipe for Lammas Breads a couple of times in the recent weeks, and thought it would be nice to share it here. These little loafs are somewhere between bread and cake: they are crusty, but also soft-centred and sweet. They are also gluten free! Read more about the traditions of Lammas, and follow the recipe, below.
Lammas, or its Gaelic counterpart Lughnasadh, is a summertime festival celebrating the first fruits of the harvest. ‘Lammas’ comes from the Anglo-Saxon hlaf-mas, meaning ‘loaf-mass’, as the bread baked with the first grain of the year was brought to church during these festivities. Historic customs included the blessing of food stores, feasting, and matchmaking; today, many people indulge in baking and cooking, foraging, and crafting.
Being gluten intolerant, I miss out on fresh, crusty bread most of the year round: ‘free from’ substitutes are just not the same! On these bright summer days, especially when having a (socially-distanced) picnic with friends or family, I crave something with that fresh-from-the-oven crustiness. I’m a sweet tooth too, so these honey Lammas Breads are perfect; they can also be used like scones and smothered with jam and cream.
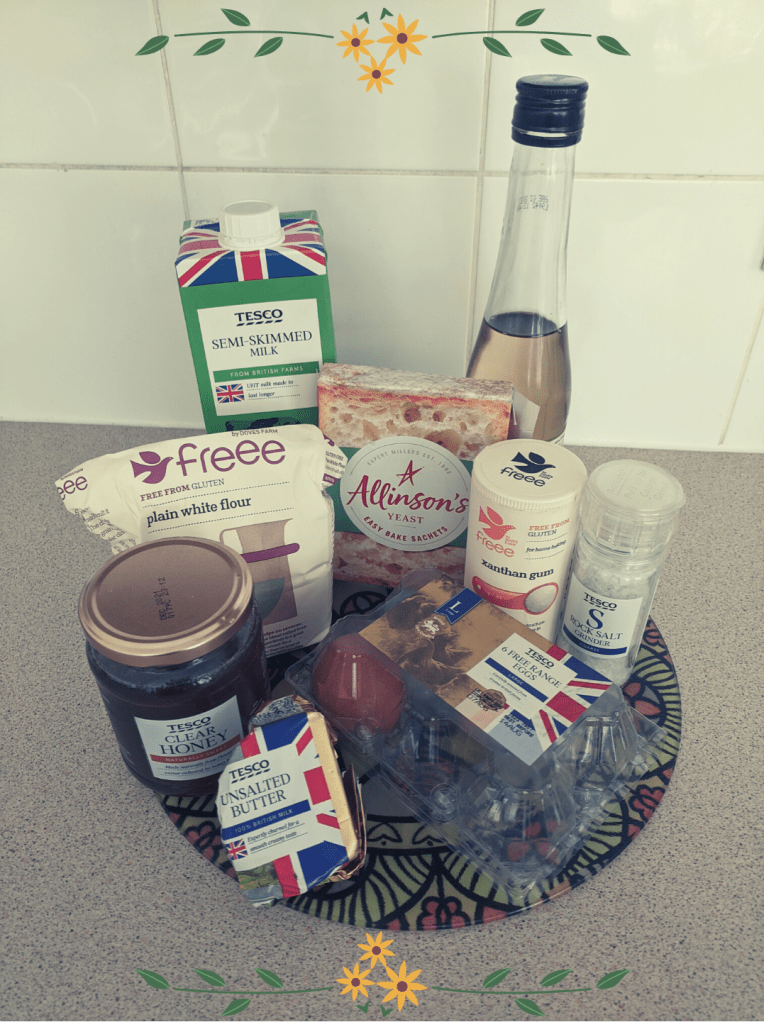

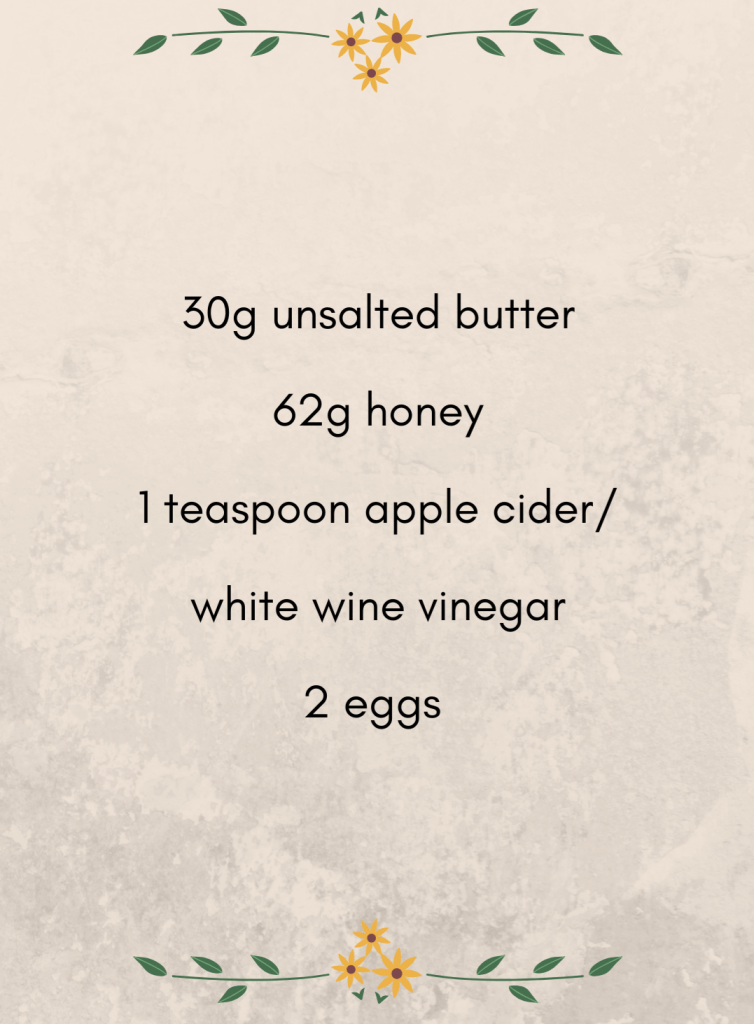
Firstly, gather your ingredients: these can be found in the three panels below. For equipment, you will need two mixing bowls, a measuring jug, a set of scales, a teaspoon-measure, and a baking tray covered with greaseproof paper. You will also need somewhere warm to allow your dough to prove before baking. I typically start up my oven before I begin mixing ingredients, then turn it off before I leave my dough in there to prove: that seems to be warm enough.
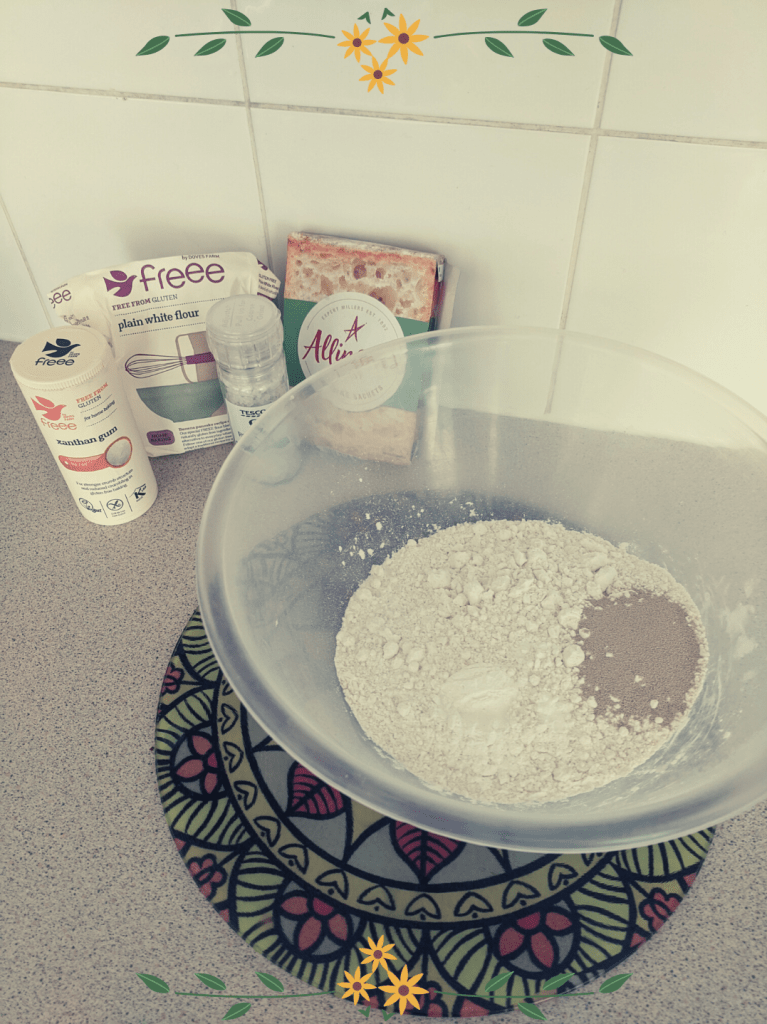
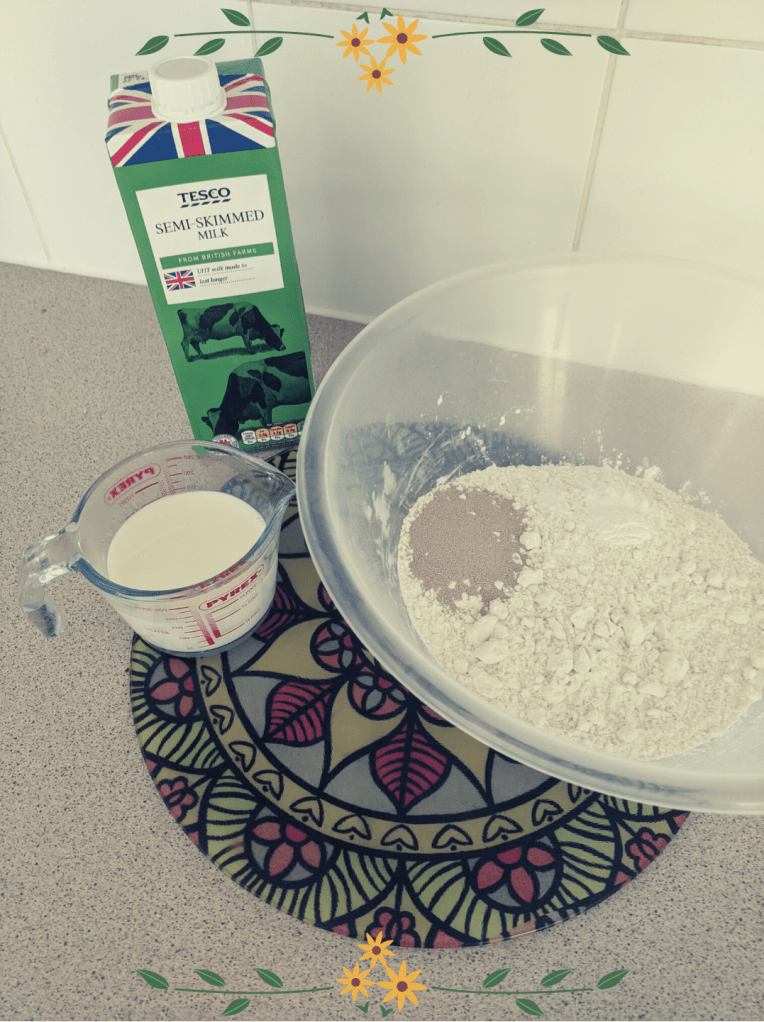
The first ingredients to measure out will be the dry ingredients. Add the flour to the mixing bowl, then the xantham gum, salt, and yeast in three small wells in the flour. Salt can harm the yeast, so keep them separate for the moment.

Then measure out the milk in the measuring jug. I use semi-skimmed, as that is what I usually have: I haven’t tried other types of milk, but as the mixture will become quite sweet with the honey, I don’t think it needs to be whole or full-fat. I also haven’t experimented with lactose-free milks, but I’m sure they’d work fine!
Warm up the milk slightly, to room temperature or just above — just make sure it’s not hot! The milk needs to be poured directly over the yeast before mixed into the other ingredients, and hot milk might also kill the yeast.
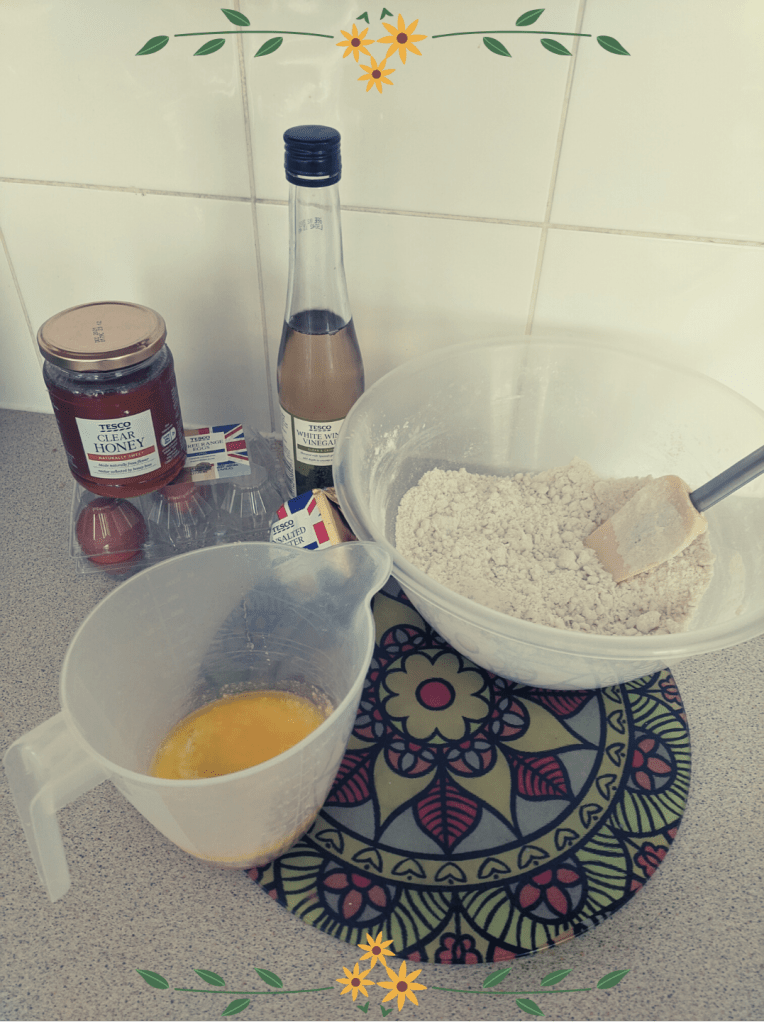
After mixing in the milk to the dry ingredients, these should have a sandy consistency. You then need to add all the liquid ingredients together, before adding them into the mixture. I find this works better if the butter is softened, so I measure that out first into another mixing bowl, and microwave it quickly to melt it. I then add the honey, white wine vinegar (or apple cider vinegar if you have it), and eggs into the butter, before pouring it all into the dry ingredients.
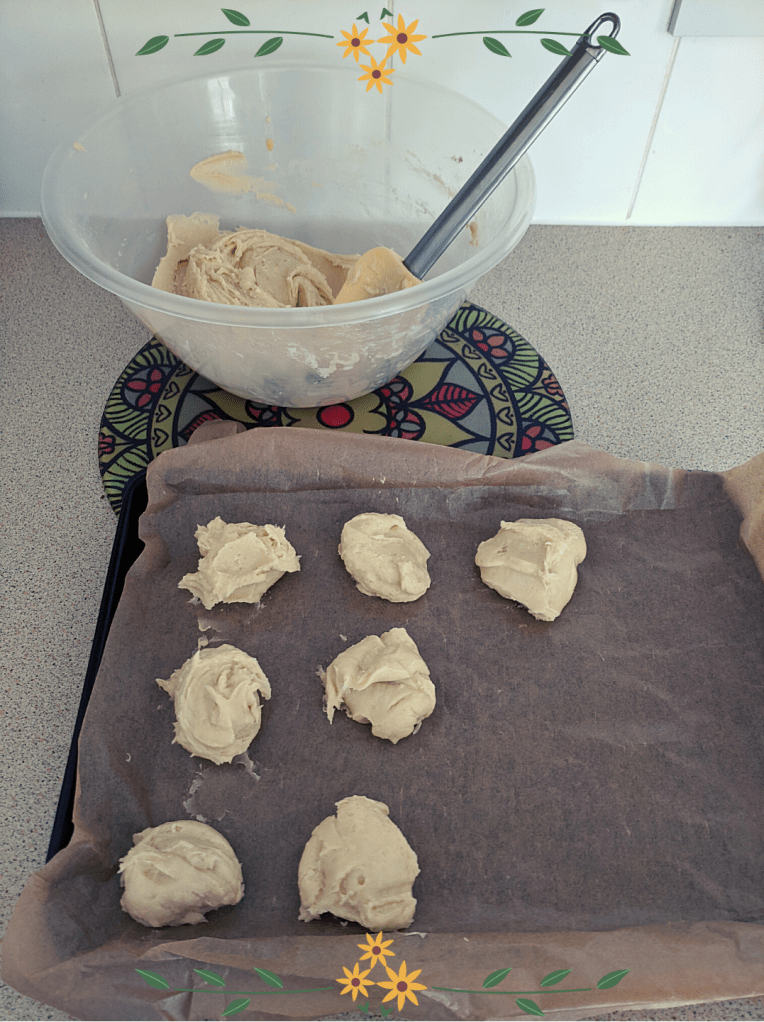
Keep folding the mixture, and once all the ingredients are combined, you should have quite a stiff dough. Turn off the oven if you’ve had that switched on to create a warm space — it should be a good temperature now.
It’s now time to transfer the dough to the baking tray. For the amount of mixture this recipe creates, I think around 12 small loaves is a good number, but of course do what is best with your baking tray. I divide the mixture up with a spatula and dollop it onto the tray — I find it is too sticky to mould with your fingers. Unless you’re particularly concerned about the look, I think this is fine. Sometimes they end up quite spiky, like little hedgehogs, which I think is equally nice!
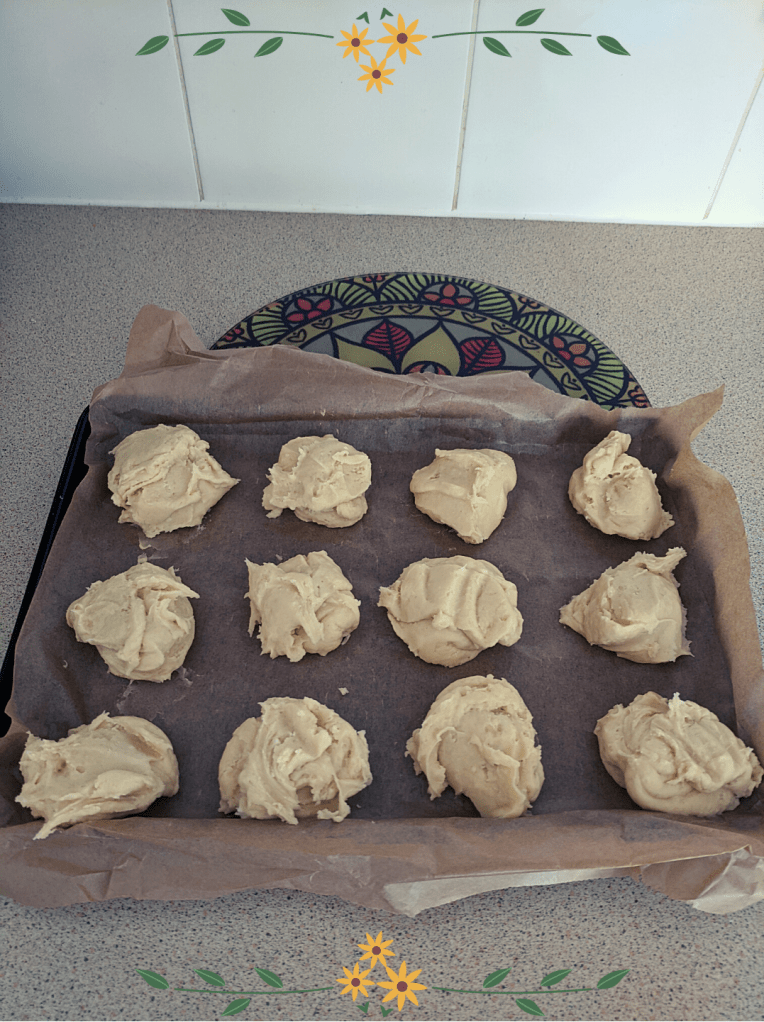
Pop the tray into the (switched off) oven, and leave them there in the warm to prove for about an hour. I’ve found that they don’t rise or spread much, which is why I think it’s okay to fit as many loaves onto your tray as possible.
After an hour, start up your oven at about 200°C for about 15 minutes, or until lightly golden. I don’t take the tray out of the oven between proving and baking, as I don’t want to risk the little loaves deflating by the marginal amount they’ve risen. Soon your kitchen will be filled with the delicious smell of baking bread, and you won’t have to wait long until they’re ready to take out and enjoy! I find they are particularly tasty when still warm, accompanied with a bit of butter or jam, or even just plain.
As you enjoy the fruits of your labour, take a moment to remember the wealth that nature and the earth give to us. If anyone has a go following this recipe, or has any other harvest traditions or customs around this time of year, I would love to hear about it. Happy Lammas!

Hope you’ve saved some for us Nell, they look great. Don’t mind the little hedgehog ones. xx
LikeLike
They’ll be gone by Wednesday! I’ll bake a fresh batch for our picnic 🙂 xx
LikeLike